
When is it too wet or cold to paint outside? Temperatures and timing
Check the product sheet for the minimum substrate temperature and the rain-free interval after application.
Written by Ali Vahidi · 6 min read
When is it too wet or cold to paint outside?
Check the product sheet for the minimum substrate temperature and the rain-free interval after application. A forecast air temperature alone does not describe a cold wall. Inspect shaded elevations for dew, allow time between coats and postpone when the surface cannot stay dry for the specified period.
Check the wall before checking the clock
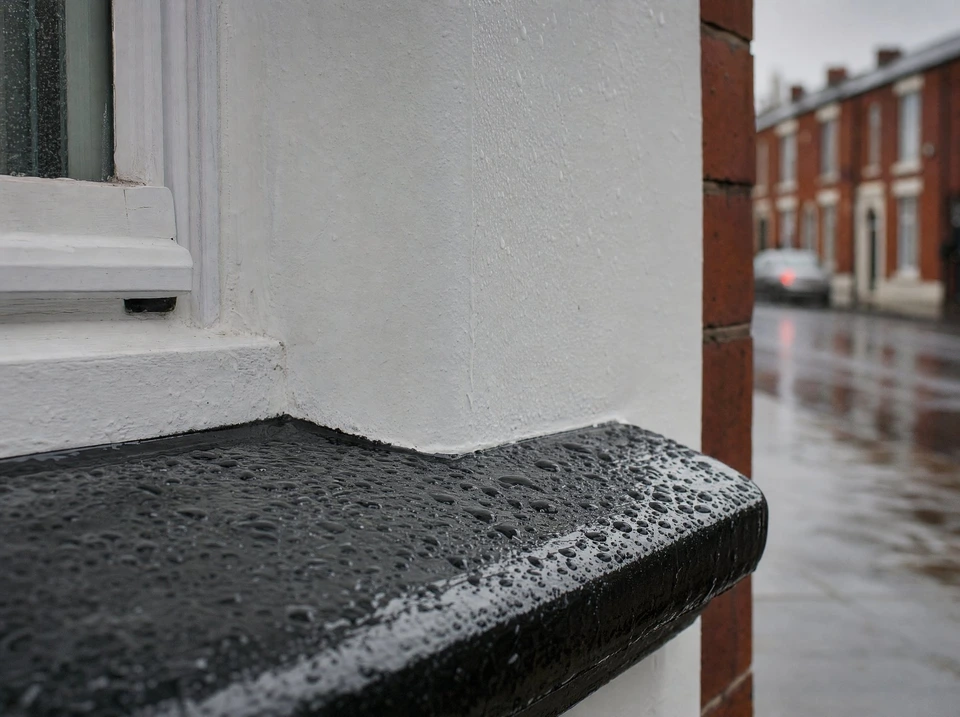
The air temperature on a weather app describes the air at a measuring point. It does not establish the condition of a shaded wall or metal frame. Look for dew under sills and along horizontal ledges, especially where the morning sun never reaches. Compare the observed conditions with the chosen product instructions. If the surface still feels damp or shows dark wet patches, a later start may be necessary even after the rain has stopped.
Read the coating instructions in sequence
Find the application temperature, acceptable substrate condition, recoat interval and rain-free window on the sheet for the exact product. Write them in the order the job will encounter them. The first coat needs an acceptable starting surface. The second coat needs the first one ready to recoat. The last coat needs protection into the afternoon or evening. A weather window that meets only the first condition may still be too short for the planned work.
Plan elevation by elevation
Sketch the house and mark when each side receives direct sun. One side can overheat while another remains damp. A sheltered wall under a deep eave can behave differently from a gable exposed to wind and rain. Arrange a sequence with an alternative indoor or preparation task where suitable. Do not assume the crew can simply move around the corner if access equipment or material protection has already been committed to a particular elevation.
After an unexpected shower
Record which elevation and coat were affected, when the coating went on and when rain began. Let the surface settle before assessing it. Photograph runs, uneven sheen or washed areas in consistent light. The next step depends on the product and how far it had dried; ask the supplier about the observed condition before applying more material. Adding another coat immediately can conceal the reason for the failure and make later correction more extensive.
Plan a short elevation before committing to a long one
Suppose the front of a house is sheltered but the gable faces the prevailing weather. A clear lunchtime forecast does not give both elevations the same working window. On paper, set out preparation, any local repairs, primer and each finish coat separately. Beside each entry leave space for the required interval from the manufacturer's sheet. Work backwards from the earliest likely return of rain or condensation. If the final interval runs into the evening, reducing the area to a natural break may be better than leaving a wet edge across the middle of a wall. Agree the stopping line before opening the tin.
Record a weather interruption
If a shower interrupts work, mark the affected wall and approximate time on a photograph. Keep a second photograph of an unaffected area from the same coat. Check the manufacturer's guidance on inspection and recoating once the surface is dry. A streak, a dull patch and a soft film need different assessments. Avoid assuming that another coat immediately will solve all three. Ask the decorator to record the decision against that elevation before removing access equipment. When comparing quotations, check whether a return visit, an extra access day and protection of adjacent surfaces are covered if the programme has to move.
A room with several drying histories
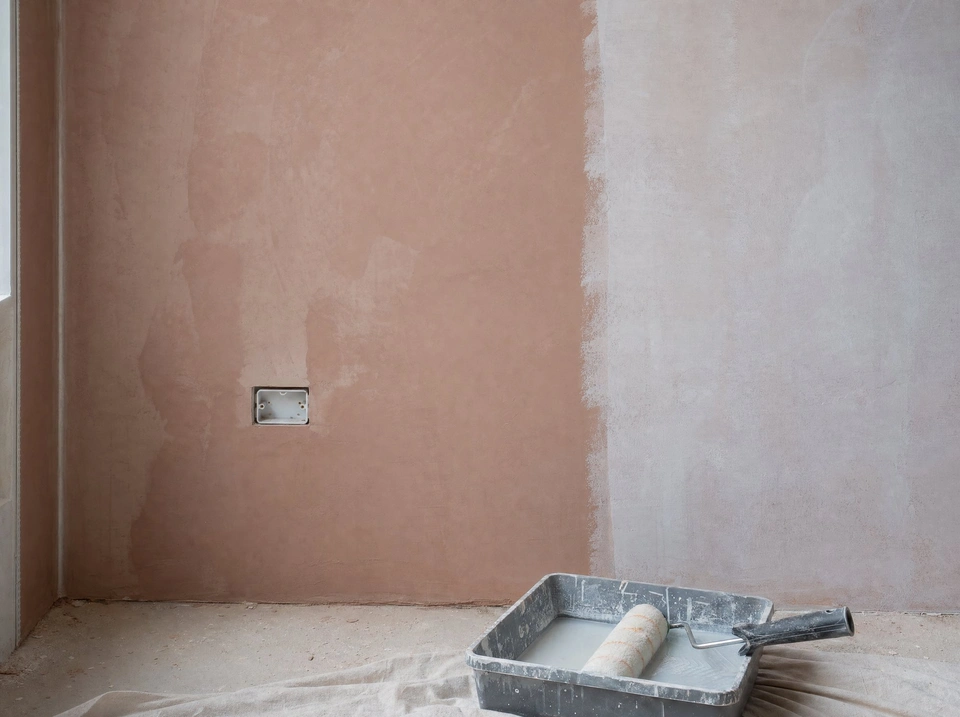
Picture an existing bedroom with a newly skimmed ceiling, a filled cable chase and two walls in old sound paint. Draw those as four separate surfaces on the room sheet. The existing painted wall may be ready for a colour sample while the deeper repair is still drying. A sample on that existing wall can help select a shade but tells you little about adhesion on the new work. Record who supplied the plaster and when each repair was completed. Ask for their finishing instructions and the paint manufacturer's instructions for that substrate. Agree a review date instead of tying the first coat to the date the plasterer left.
What to inspect after the first coat
Keep the first inspection in daylight and look along the surface as well as straight at it. The initial coating can expose fine ridges, scratches or a slight step where the new skim meets old work. Circle their positions on a photograph. Agree which require attention and how repaired patches will be brought back into the coating system before the next full coat. If a discoloured patch returns in the same place, pause to identify its source rather than repeatedly covering it. At handover keep the specification for the base coat as well as the finish. An isolated repair later may expose the underlying plaster again.
Map old and new plaster separately
On a room plan, mark full newly plastered walls, deep repairs, thin skimmed sections and untouched existing finishes. Even on one wall, a deep chase filled after electrical work may behave differently from a thin skim at the far end. Check corners and the return behind the door. Note when each repair was completed. This makes a conversation with the plasterer and paint supplier more useful than relying on a single date for the entire room.
Look at the whole surface
View the wall in daylight from more than one direction. Differences in colour can help identify areas that deserve attention, but colour alone does not prove the surface is ready. Compare the thickest repair with a representative section elsewhere. Ask about any marks that repeatedly darken. A leak or continuing moisture needs investigation before decoration, even if the rest of the room looks ready.
Exterior weather worksheet
| Before each coat | What to record |
|---|---|
| Surface | Elevation, exposure and whether the surface is dry |
| Product | Application range, recoat interval and rain-free period on the label |
| Decision | Start time, natural stopping point and next inspection |
Further reading: Dulux guide to paint finishes.
Frequently asked questions
Can you paint outside in winter?
Compare the forecast and actual surface conditions with the coating’s instructions. Consider how long the elevation stays warm and dry after the last coat, especially on a shaded wall.
How long must paint be dry before rain?
The rain-free period varies by product, temperature and exposure. Use the specific manufacturer’s figure for the coating and allow for slower drying in cool or humid conditions.
What happens if it rains after painting?
Let the coating settle and inspect the affected section before deciding on repairs. Record the timing of rainfall and consult the product guidance about washing, adhesion and recoating.
 The 8 most popular front door colours in Manchester
 How long should new plaster dry before painting?